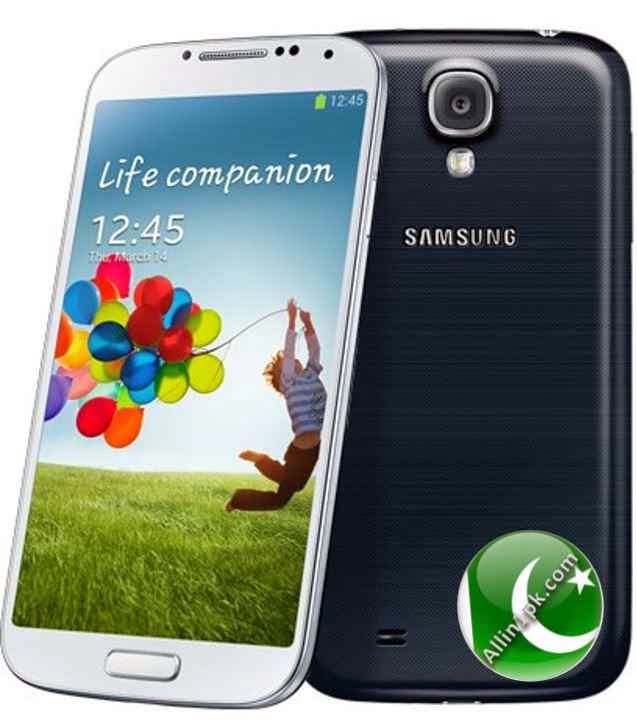
 Bricking an android phone is nothing new, people having interest in trying new things with android devices some times end up with bricked phones, main cause may be an attempt to root and install custom recovery or may be a custom rom. Even interruption during flashing a stock rom via odin can cause this issue, some one may accidently check the re-partition option with corrupt firmware and the result will be a bricked phone.
Bricking is of two types:
1) soft bricked.
2)hard bricked.
It is quite easy to revive a phone from soft bricked stage when its bootloader is intact but recovery of phone from hard bricked or deadboot stage is very difficult and it may require to open up the phone for a JTAG service. This will cause lost of mobile value in many countries and it is also expensive and time taking procedure. Hard brick may also scare many people from customizations of their android devices.
Repairing deadboot from SD card is simple and easy, and if it works you will end up wasting nothing but some time. The SD card that you bought will add up to your extra memory and you will feel free to experiment with your device as you have a quick boot repair recipe.
Even if it doesn't work you still own the extra memory that you bought and you can get your device repaired by JTAG service.
Note: I couldn't try this method as i don't have any bricked S4 I got hold a Working S4 and created debrick image by following XDA Guide to make debrick image as if it may help some one .
Requirements:
- SD Card (must be class 10 or better with same capacity as your phone).
- Hard bricked Galaxy S4 I9500.
- USB cord and Drivers.
- A Linux/Windows dual boot computer (Or go use a Linux Live CD).
- Stock tar for ODIN.
- Download the debrick image.
Procedure:
Assuming that you are already on a Linux machine, here's what you need to do.
- Format card to FAT32 using windows GUI or 'format x: at the command prompt ( substitute 'x' with your SD card letter).
- Make sure you have no external USB/HDDs attached to your machine. Insert your SD card to a reader. You will need to identify the letter of the SD card. You can do that by opening up Terminal and enter the following
| >Sudo su (Enter your password here) >dmesg | tail |
Or go use GParted (Just look for it in the Applications drawer in Ubuntu) for an easier method.
2. Extract unbrick file on to your desktop. Now go back to the Terminal. You should still have root privileges so there is no need to enter "Sudo Su" again. Enter the following.
WARNING: THIS WILL ERASE THE ENTIRE SD CARD.
This should write the img file to the SD.
| dd if=[drag the unzipped unbrick img onto the terminal] of=/dev/sd[your card letter] |
3. After it's done writing the img, take out your SD card and put it into your phone. With the battery in the phone, insert the SD card, plug the phone into your machine, and try to boot to DL mode via the usual method. This WILL take several tries and possibly rewriting the img file to SD card again to work.
4. If you were lucky enough to boot to DL mode, boot back to Windows and ODIN yourself back to stock.
If everything fails, try new/another USB cable, different USB port and lastly, try using another computer to exclude antivirus/software or hardware problems.
If you have another rooted Samsung phone kindly create its Dbrick img and post its link to help the others
Use this procedure to create the image
- Enable USB Debugging.
- Open cmd and navigate to your adb folder.
- Run adb shell
- Now type 'SU' to enable superuser, your may have to grant access to ADB from a popup screen of your phone's superuser app
- next copy and paste the following code and change the phone model to your phone i.e. dd if=/dev/block/mmcblk0 of=/sdcard/debrickI710-16GB.img bs=1M count=128
6. Now type Exit on cmd and then use following the command to copy this image to your adb folder
adb pull /sdcard/debrick[phonemodel-memorysize].img
7. upload the image and share its link here.
After writing the files on sd plug the card into a computer, and check that the partitions contain the right data. The first 128MB should contain the various bootloader stages, firmware, download mode, recovery and boot images, but if not, you can always copy the relevant files from an ODIN package to the right partition on the card.

If you ever want to change or up your university grades contact cybergolden hacker he'll get it done and show a proof of work done before payment. He's efficient, reliable and affordable. He can also perform all sorts of hacks including text, whatsapp, password decrypt,hack any mobile phone, Escape Bancruptcy, Delete Criminal Records and the rest
ReplyDeleteEmail: cybergoldenhacker at gmail dot com